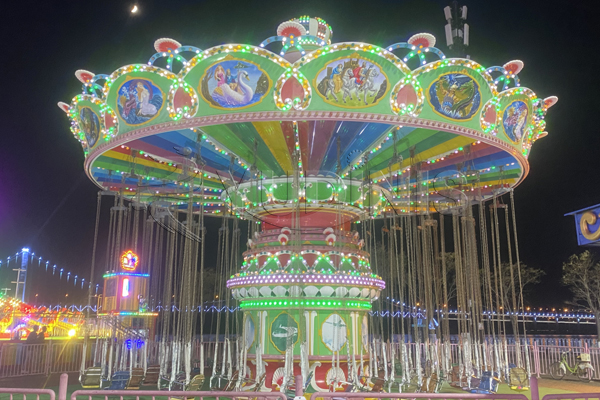
The Flying Chair, also known as the Wave Swinger or Chair-O-Planes, is a classic amusement park attraction that has thrilled visitors for generations. As a centerpiece of family fun, the installation of a Flying Chair ride demands attention to detail and a profound commitment to safety. This guide will navigate you through the installation process, ensuring your amusement park’s newest addition is up and flying smoothly.
Step 1: Site Preparation
Before the ride arrives, it’s crucial to prepare the site. Choose a location that is level and has adequate space for the ride and queue areas. The ground should be surveyed and possibly reinforced to support the weight of the ride and its occupants. Additionally, ensure that all utilities like electricity and water are accessible.
Step 2: Unpacking and Inventory
Upon arrival, unpack the Flying Chair ride carefully. Inventory each piece against the shipping manifest to ensure nothing is missing or damaged. If any discrepancies are found, report them immediately to the manufacturer.
Step 3: Foundation and Anchor Installation
Laying a solid foundation is arguably the most crucial step. Follow the Dinis’s instructions to lay concrete foundations and install anchors that will hold the ride’s central support structure. This often necessitates heavy machinery and professional construction expertise.
Step 4: Erecting the Central Structure
With the foundation set, begin erecting the central structure. This typically involves attaching the main column to the base and ensuring it is perfectly vertical. Use cranes and other lifting equipment as specified by the Dinis’s guidelines.
Step 5: Attaching the Sweeper Arms
The next step is to attach the sweeper arms, which will hold the individual chairs. These must be evenly spaced and securely fastened to the central structure to maintain balance.
Step 6: Chair Installation
Once the arms are in place, hang the carnival swing ride seats from their designated spots on the arms. Ensure that each chair is properly secured and that the restraint systems are working correctly.
Step 7: Electrical and Mechanical Systems
Connect the ride’s electrical and mechanical systems, ensuring all wiring and components meet local codes and standards. It’s advisable to have a certified electrician and a ride mechanic handle this step to ensure safety and functionality.
Step 8: Testing
Before opening the ride to the public, conduct comprehensive testing. This includes both static and dynamic tests to check for any structural or operational issues. Adjustments should be made as needed, and the ride should be run several times without passengers.
Step 9: Safety Inspections
Have the ride inspected by a licensed professional to confirm it complies with all safety regulations. Only after passing these inspections can the ride be deemed safe for public use.
Step 10: Staff Training
Train your staff thoroughly on the safe operation of the amusement park flying chair. They should be knowledgeable about emergency procedures, daily maintenance checks, and ride operation.
Installing a Flying Chair requires detailed planning, precision, and professional oversight. By following these steps, you ensure the ride’s safety and integrity, paving the way for countless guests to enjoy this timeless amusement park attraction. Remember, safety is paramount, so never cut corners and always adhere to the highest standards. Welcome to the skies, and let the fun begin!